
How To Move A Shed?


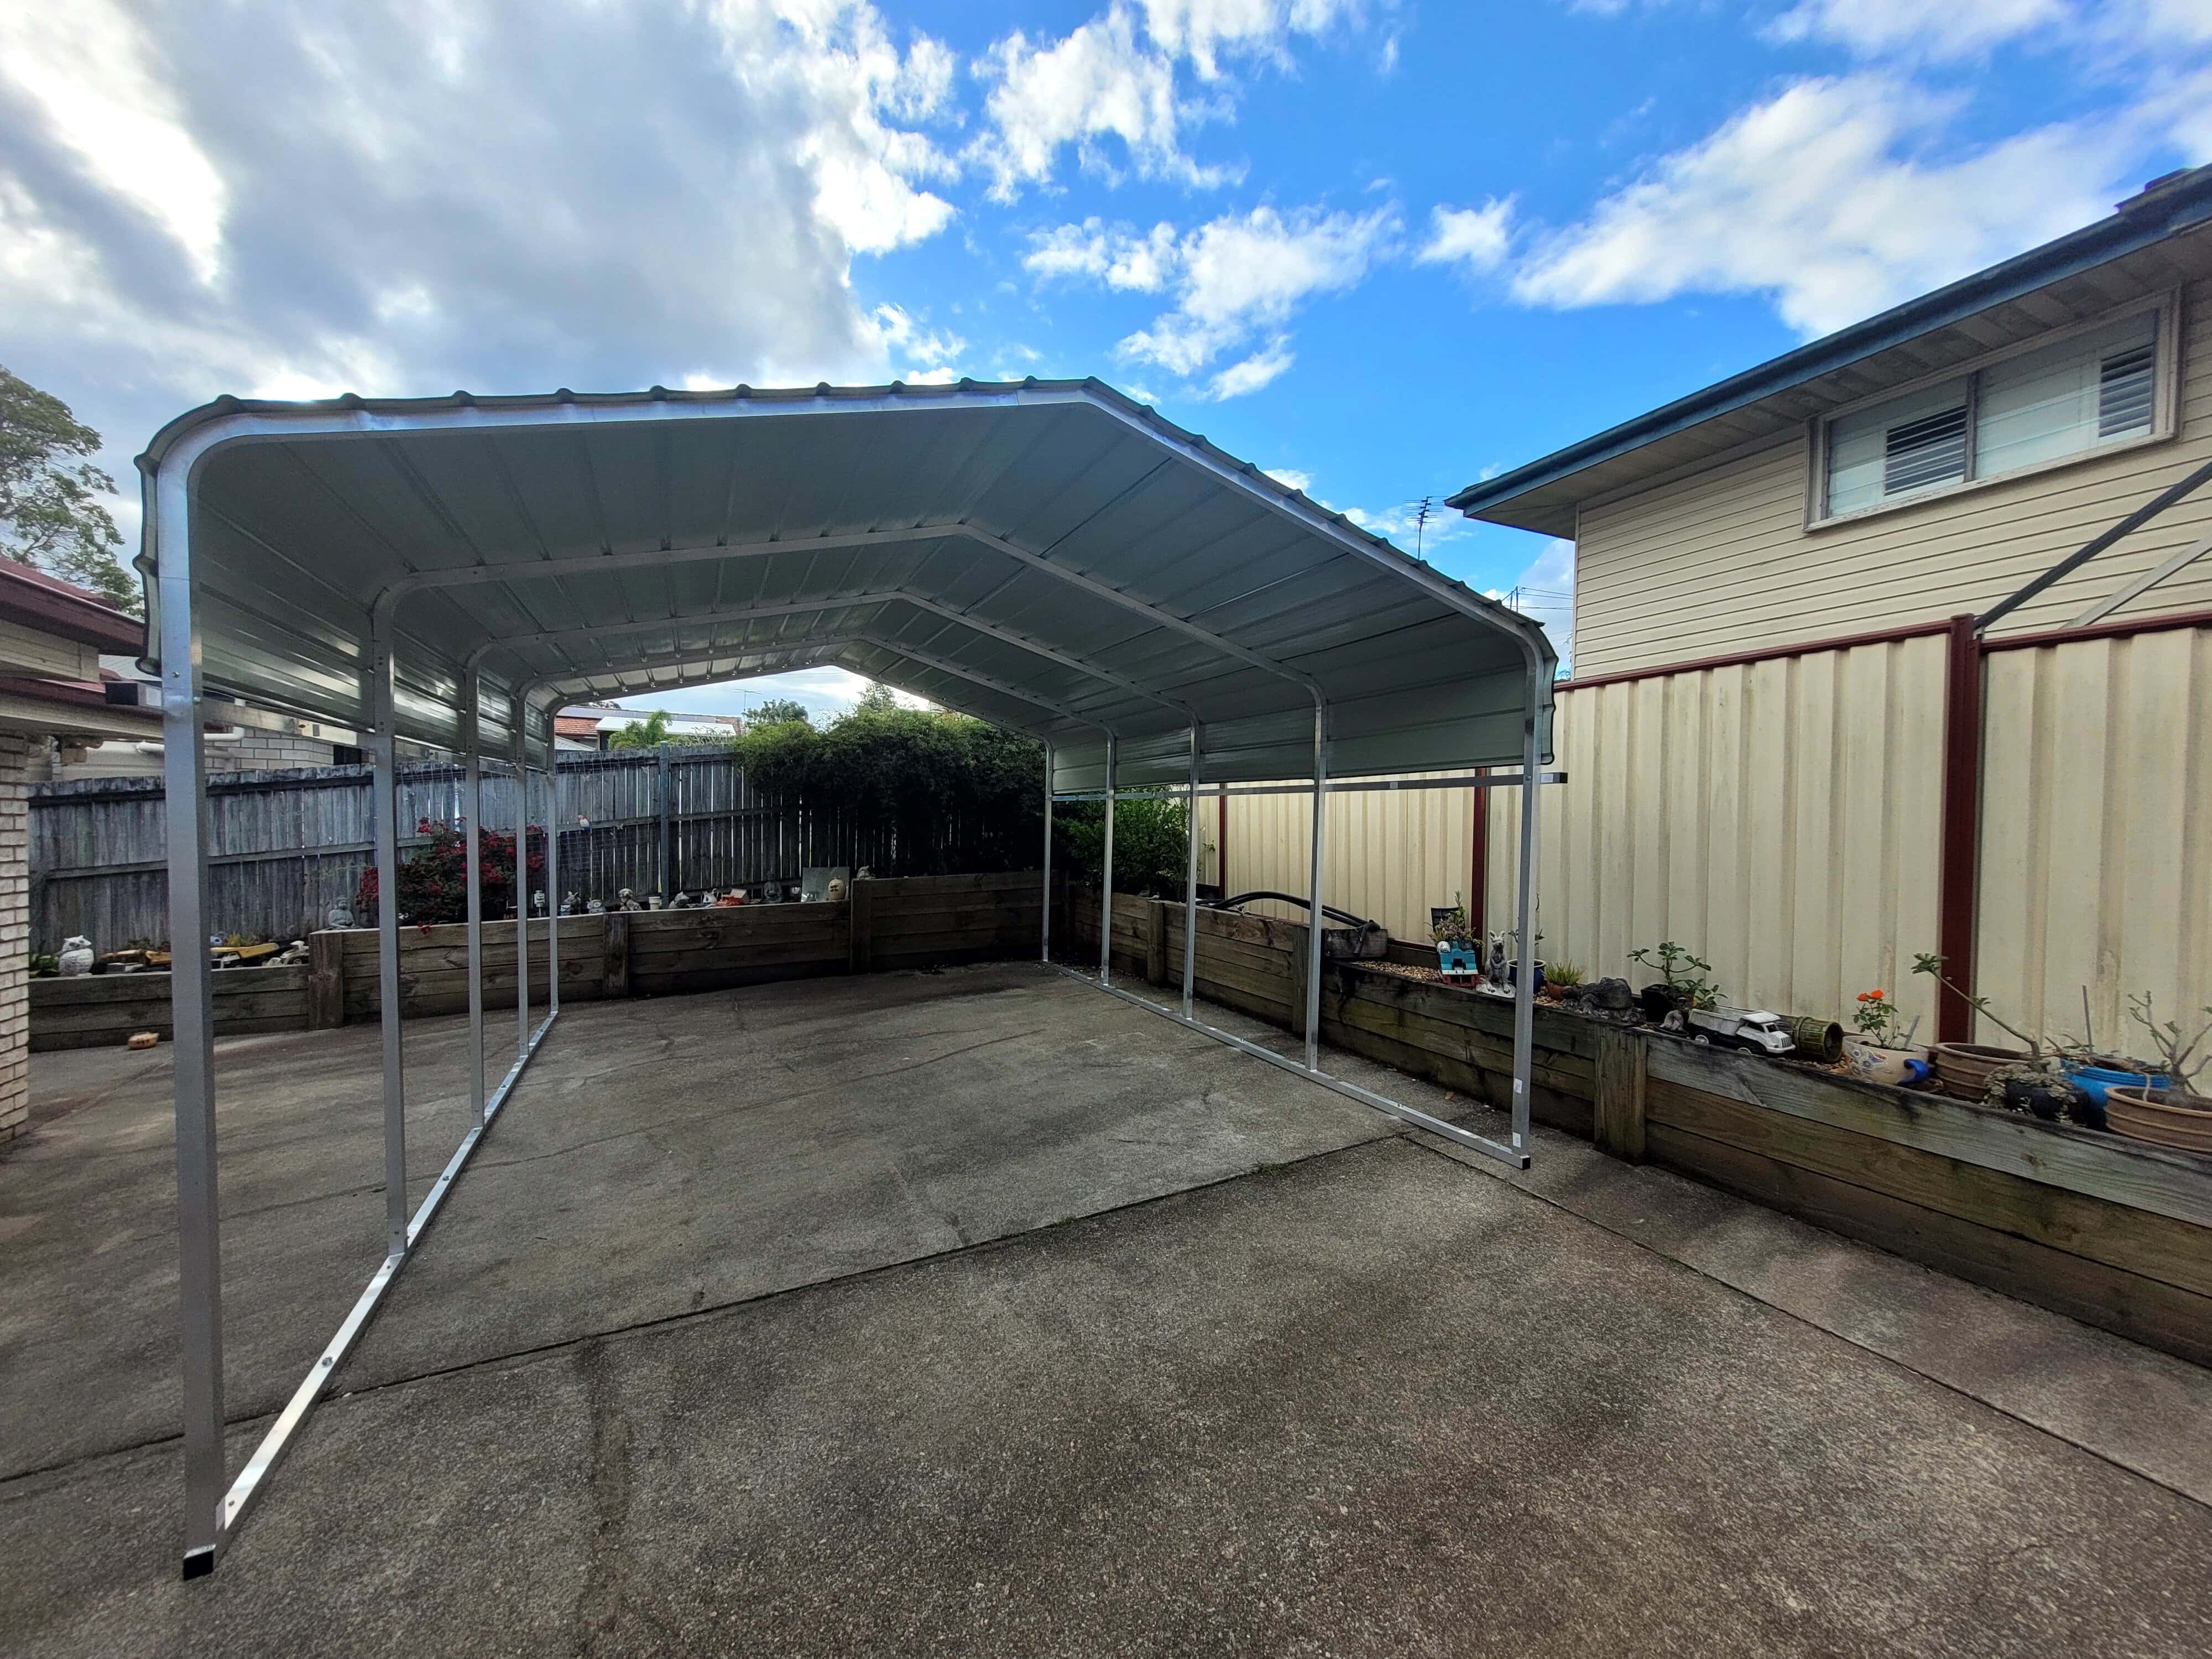
Aluminum vs. Steel Framing for Carports
When choosing a carport, there are many factors to consider, including the material of the frame. The two most common

Portable Carport Shed vs. Garage: Why You Should Choose a Shed
When it comes to protecting your car from the elements, you have two main options: a carport or a garage.
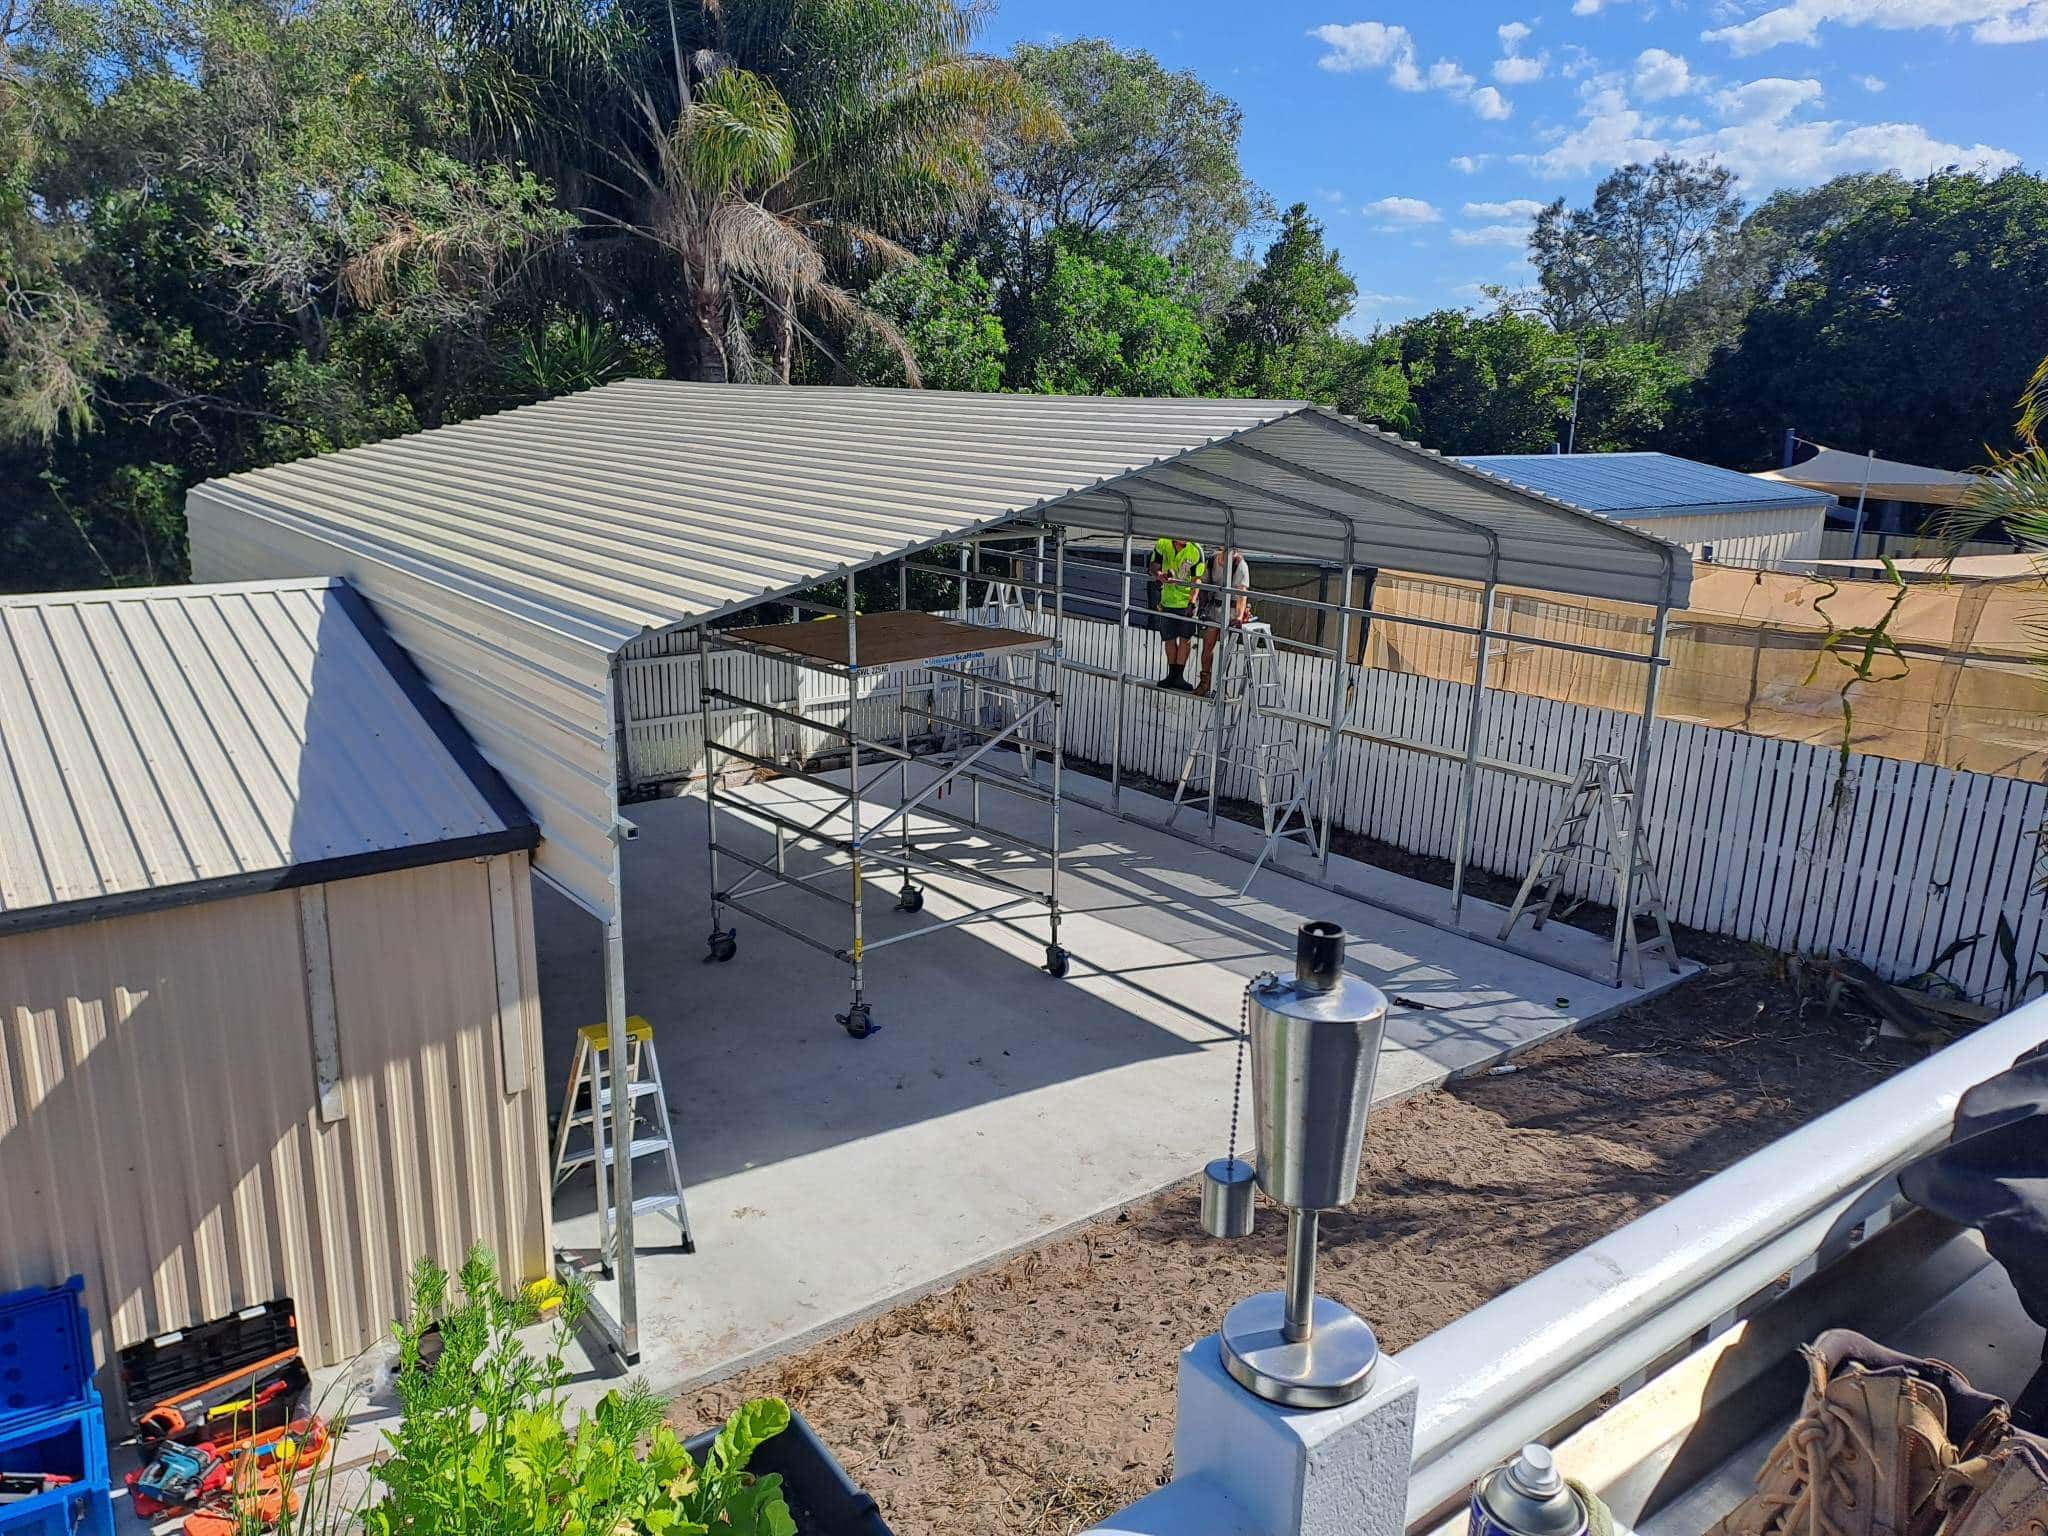
How To Move A Shed?
Moving a shed can be a daunting task, but with the right planning and preparation, it’s definitely possible. In this

Do I Need Permit To Build Carport In Australia
The Answer is Often Yes. A carport is a great way to protect your car from the elements. In many

The Cost of Building a 2-Car Detached Garage
At Brighten Metals, we understand the importance of having a reliable and spacious garage that not only provides secure storage
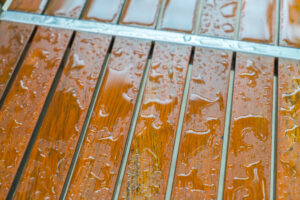
Do Metal Carports Sweat? How to Prevent Condensation
Metal carports are popular choices for protecting vehicles and providing additional storage space. However, one concern that arises with metal